Building a NAS
For a very long time my data storage was far from ideal. Until recently my way of storing all of my data was to have several miscellaneous hard drives in my desktop.
While I had never had a hard drive failure, it was only a matter of time and my backup situation was very poor (read non-existant).
I had been planning to build a NAS for a long time and having moved my proxmox install to my new Gen8 Microserver I had a free N40L to play with.
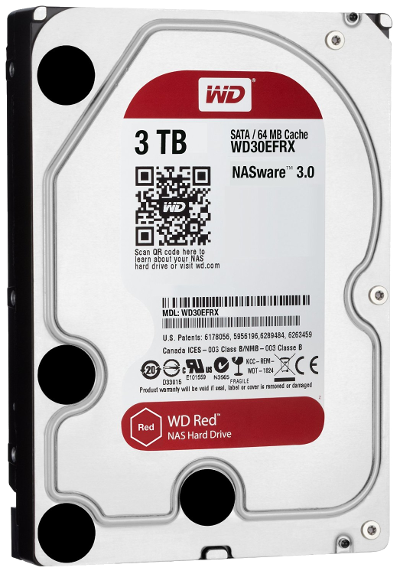
I had already settled on FreeNAS as my NAS OS of choice months prior and had done plenty reading on what I needed so when I saw that Western Digital 3TB hard drives were on sale I jumped on the opportunity and bought 4. I also bought a stick of Kingston KVR16E11/8 8 GB 1600 MHz DDR3 ECC CL11 DIMM RAM.
Installing the drives was as easy as putting them in the microserver’s caddys and slotting them in. The N40L also has an internal USB slot which is perfect for a USB stick to boot from. I downloaded and installed FreeNAS to the USB stick and after a reboot and having configured the networking from the console I was able to access the web interface.
For my usecase I created a RAIDz1 array. I am well aware that it is now recommended to use a pool of multiple mirrors as RAIDz1 and even RAIDz2 are risky when it comes to rebuilds. I will almost certainly be building a much larger NAS in the future and so will be able to implement this then. For now however RAIDz1 will have to do as I needed to maximise the storage capacity.
Once FreeNAS has been installed, networking configured and the pool created, the next step is to create some shares.
My current desktop build actually runs Windows 10 (more on that in a future post) and so I created the majority of my shares using cifs. I also use a Macbook pro for work and that backs up to an AFP share on the NAS using time machine. Additionally there is an NFS share that I have added in Proxmox to allow my VM’s to be backed up directly.
To have more control over the shares and how much storage is available to each, multiple datasets and even sub-datasets can be created. In ZFS, a dataset is presented as a folder but is essentially a seperate filesystem. Each dataset can be allocated an individual storage quota and seperate permissions which I have found very helpful.
This is explained in much more detail in the FreeNAS docs.
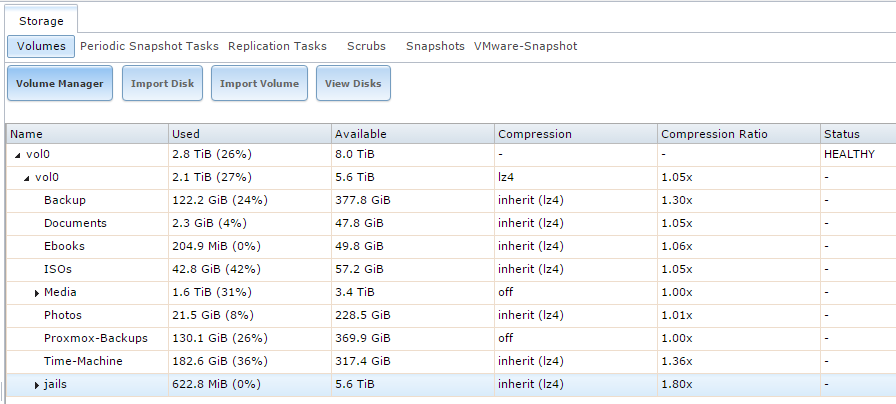
Here is a screenshot of my storage volumes view in FreeNAS as it is currently:
With datasets and shares configured it is a good idea to set up scrubs, smart checks and snapshots. I won’t go into much detail on this and recommend that you read the FreeNAS docs and decide on the best strategy for yourself.
Personally I only snapshot my important data and take a snapshot every 2 hours between the hours of 10am and 11pm. The lifetime of each snapshot is 2 weeks.
My scub is configured to run with a threshold of 15 days at 8am on the 1st and 15th of each month.
Finally I have configured my smart tests to run a short self test every Friday and a long self test every month. I highly recommend scheduling things carefully so that smart tests and scrubs do not overlap with each other.
I would also recommend that scrubs and smart checks are scheduled for time that the NAS will not be in use to prevent the drop in performance affecting your work.
I should probably note that this post is LONG overdue. At the time of writing this post, the NAS has already been in use for almost 6 months! There have been several minor and one major change to the NAS setup since the initial build documented above and these will follow in future posts which will hopefully be written in a much more timely fashion.